Basic Installation Instructions
Your kit
You should have:
- At least one GridHub
- At least one GridNode
- 6 Current Transformers (CTs) for each GridNode
(These might be 60Amp, 200Amp or 2000Amp depending on your purchase order) - 1 Power pack for every GridHub
- 1 Power supply for every GridNode
Installing the GridHub
Important
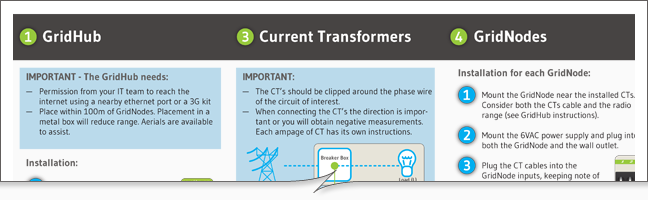
The GridHub needs:
- Permission from your IT team to reach the internet using a nearby ethernet port or a 3G kit
-
To be placed within 100m of GridNodes. Placement in a metal box will reduce range. Aerials are available to assist.
Installation
-
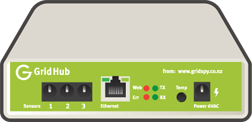
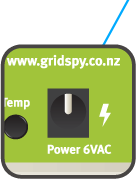
Plug the plug pack into a wall outlet and into the 6VAC input. Lights will flicker in a test pattern.
-
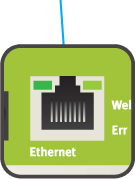
Plug Ethernet cable into GridHub.
-
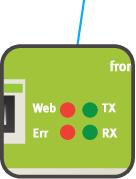
The web light will come on solid once a reliable internet connection has been established.
-
Leave the GridHub ON
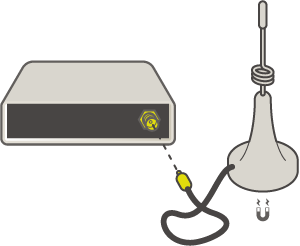
Installing the optional Aerials
-
Screw the aerial plug into the corresponding fitting on the back of the GridHub. Tightening with fingers is sufficient.
-
Make sure the aerial stand is on a flat surface and as free of obstacles as possible. The aerial has a magnet, so it will attach to metal surfaces
-
If your kit comes with additional aerials for the GridNodes attach them in an identical manner.
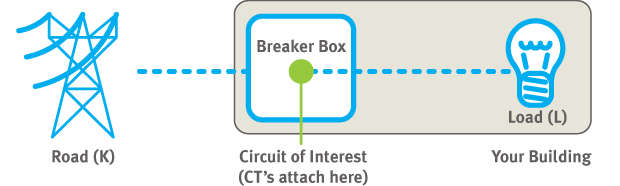
Installing the Current Transformers
Important
- The CT’s should be clipped around the phase wire of the circuit of interest.
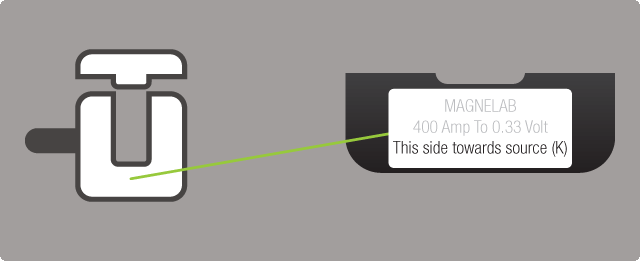
- When connecting the CT’s, the direction is important or you will obtain negative measurements. Each ampage of CT has its own instructions.
Direction of the Current Transformers


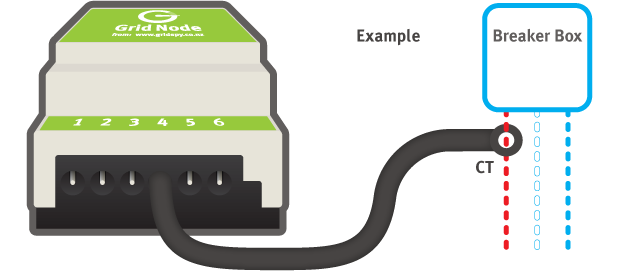
Installing the GridNodes
Information
- If your building has a 3 phase supply, its best if you plug the phase 1 (red) into input 1 or 4, phase 2 (white) into input 2 or 5 and phase 3 (blue) into input 3 or 6.
Installation
-
Mount the GridNode near the installed CTs. Consider both the CTs cable and the radio range (see Grid Hub instructions).
-
Mount the 6VAC power supply and plug into both the GridNode and the wall outlet.
-
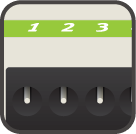 Plug the CT cables into the Node inputs, keeping note of the input number you use for each CT.
-
 30 seconds after powerup the ‘RX’ light will flash to show the GridHub gathering data from the GridNode.
-
Repeat steps 1 - 4 with any additional GridNodes.
GridNode feet
GridNodes come with wall-mounting feet that you can use as an alternative to DIN Rail. Push feet in and then mount as desired with screws (not provided).
PDF Installation Guide
View
Pages: 2
Size: 1 mb
The details from this document in PDF form. A great overview of how a GridSpy solution is installed to monitor your power usage. This guide clearly shows how the pieces fit together.